# Connecting to the Device
RoboDot enhances connectivity by offering Wi-Fi, Bluetooth Low Energy (BLE), and USB/Serial communication options. This ensures flexibility, allowing users to choose wireless or wired connections based on their specific needs. BLE offers quick, energy-efficient communication for low-power applications, while USB/Serial provides a reliable wired alternative for environments where wireless connections may not be ideal.
## Wifi
RoboDot offers flexibility by functioning as either an access point or a station. When operating as an access point, it creates a local network that facilitates device communication without requiring an internet connection. This mode is ideal for local control and data exchange. However, if internet access is necessary, RoboDot can be configured as a station to connect to external Wi-Fi hotspots, thus enabling internet connectivity while maintaining its functionality and integration capabilities.
### RoboDot as Access Point
When devices such as phones, computers, or controllers connect to RoboDot's Wi-Fi network, users can easily access its Web UI for configuration and management. Additionally, the RoboDot supports NTRIP Caster functionality, allowing for seamless real-time kinematic (RTK) positioning data transmission. This setup also facilitates TCP and UDP connections, enhancing network communication flexibility, enabling the integration of third-party applications, and ensuring the efficient flow of data within the local network environment created by RoboDot.
#### Setup
1. Power on the RoboDot device
2. Connect via PC or smartphone to Wi-Fi access point RoboDot\_### (where ### is the device's unique serial number)
3. Type the IP address displayed on the main touch screen into a web browser to see the Web UI
#### Tips
* No password is required to join RoboDot wifi
* Don't use https. Just type the IP address into the address bar.
* RoboDot does not provide internet access but does create a local network.
* RoboDot Access Point allows for 1 client (Wi-Fi station) to connect at a time.
### RoboDot as a Station
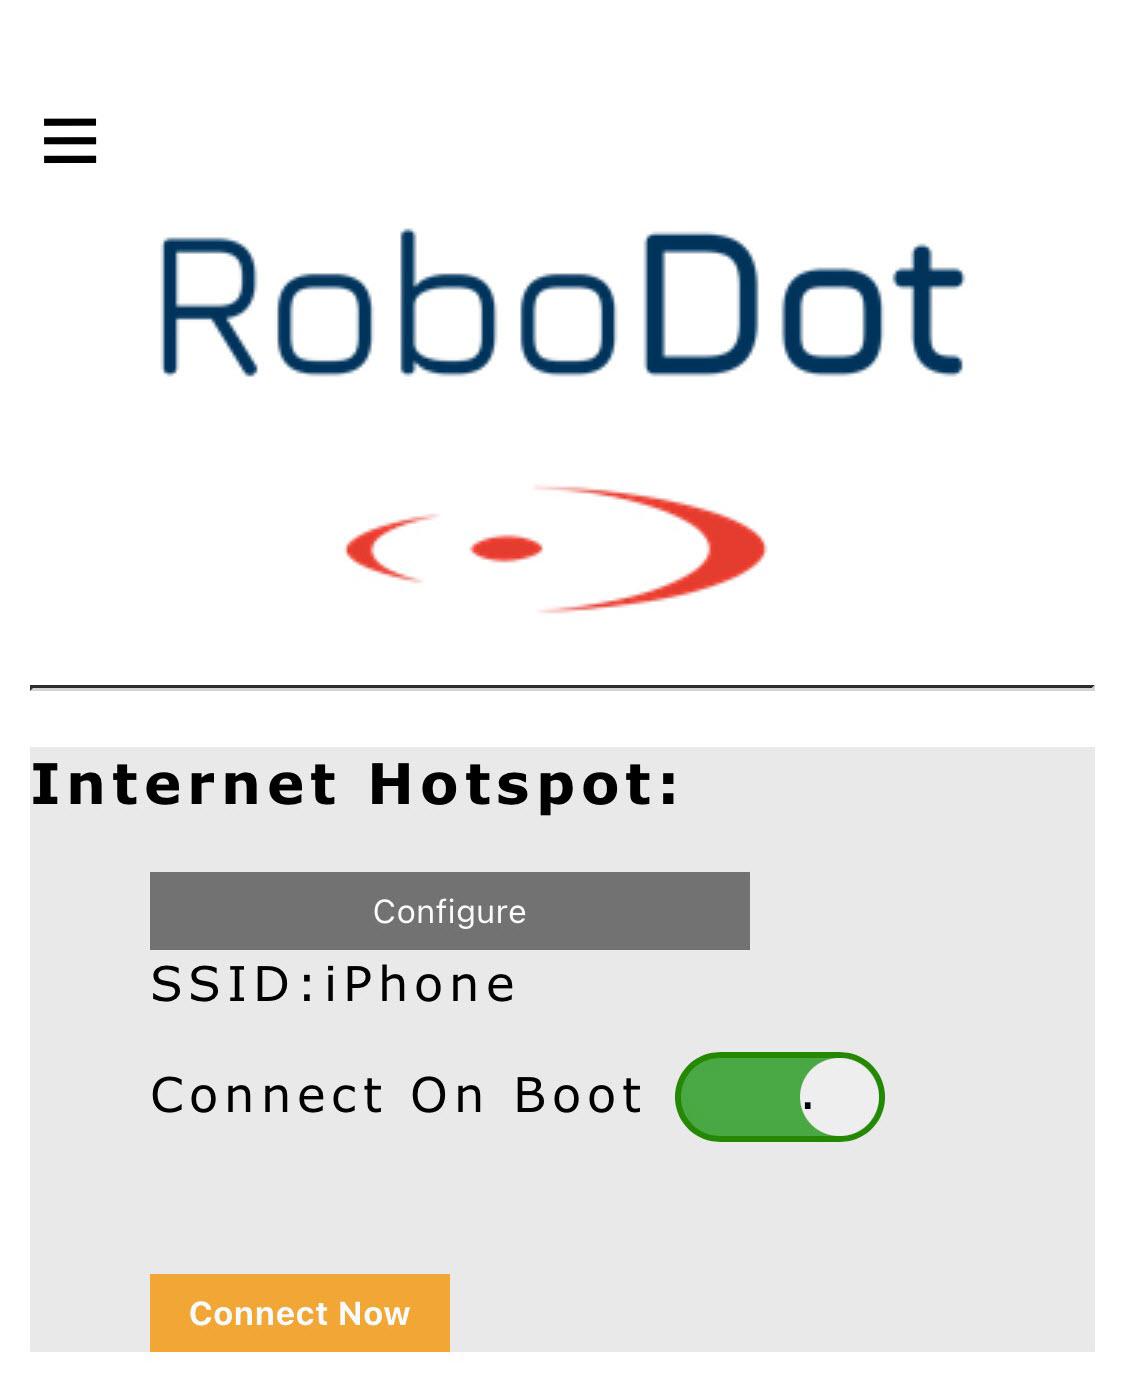 When RoboDot connects to a Wi-Fi access point such as a hotspot, home, or office network, it gains the capability for internet connectivity, which is crucial for certain functionalities. This method is particularly required when RoboDot engages in activities that require internet access, such as performing firmware updates, accessing VRS correction services, or enabling internet access for other devices that interact with RoboDot.
#### Steps
* Connect a device directly to the RoboDot\_### Wi-Fi
* Use a web browser on your device to navigate to the IP address displayed on the touch screen
* Set up hotspot credentials in the settings page under the "Configure" form
* Optionally enter a phone number with country code and area code (no symbols) for connection notifications (*This feature is currently disabled*)
* Click "connect now" to connect to the hotspot
* Enable "Connect on boot" in the settings page for automatic connection on startup for subsequent uses.
{% hint style="info" %}
Once RoboDot connects to the new network, you can only access it on that network and IP as displayed on the touch screen.
{% endhint %}
### Internet access on browser
Some pages only work properly when the browser has internet access (e.g., Map page, Share page). Internet access is not strictly required for Base/Rover operations.
#### Using iPhone
iPhone can connect directly to RoboDot Wi-Fi while still enabling applications to use data for internet
#### Using Android
It's not possible to use internet data on Android while connected to RoboDot Wi-Fi. Connect RoboDot as a Station to the Android device's hotspot for full feature access
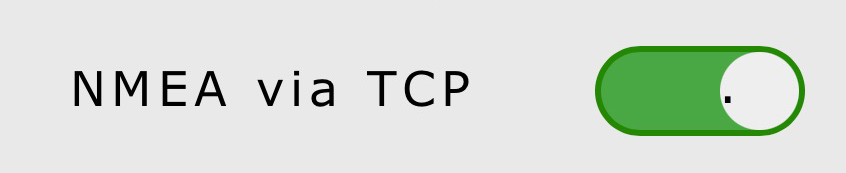
### TCP
To send *NMEA* from RoboDot to other devices over TCP connection:
> Enable NMEA via TCP in the settings page. The TCP server is on port 1000.
When RoboDot connects to a Wi-Fi access point such as a hotspot, home, or office network, it gains the capability for internet connectivity, which is crucial for certain functionalities. This method is particularly required when RoboDot engages in activities that require internet access, such as performing firmware updates, accessing VRS correction services, or enabling internet access for other devices that interact with RoboDot.
#### Steps
* Connect a device directly to the RoboDot\_### Wi-Fi
* Use a web browser on your device to navigate to the IP address displayed on the touch screen
* Set up hotspot credentials in the settings page under the "Configure" form
* Optionally enter a phone number with country code and area code (no symbols) for connection notifications (*This feature is currently disabled*)
* Click "connect now" to connect to the hotspot
* Enable "Connect on boot" in the settings page for automatic connection on startup for subsequent uses.
{% hint style="info" %}
Once RoboDot connects to the new network, you can only access it on that network and IP as displayed on the touch screen.
{% endhint %}
### Internet access on browser
Some pages only work properly when the browser has internet access (e.g., Map page, Share page). Internet access is not strictly required for Base/Rover operations.
#### Using iPhone
iPhone can connect directly to RoboDot Wi-Fi while still enabling applications to use data for internet
#### Using Android
It's not possible to use internet data on Android while connected to RoboDot Wi-Fi. Connect RoboDot as a Station to the Android device's hotspot for full feature access
### TCP
To send *NMEA* from RoboDot to other devices over TCP connection:
> Enable NMEA via TCP in the settings page. The TCP server is on port 1000.
 ### UDP
To send *RTCM3* from RoboDot to other devices via UDP:
> Enable UDP output and set your desired port in the settings page.
## Bluetooth Low Energy
To send *NMEA* from RoboDot to other devices over bluetooth:
> Enable NMEA via Bluetooth in the Web UI settings page.
### UDP
To send *RTCM3* from RoboDot to other devices via UDP:
> Enable UDP output and set your desired port in the settings page.
## Bluetooth Low Energy
To send *NMEA* from RoboDot to other devices over bluetooth:
> Enable NMEA via Bluetooth in the Web UI settings page.
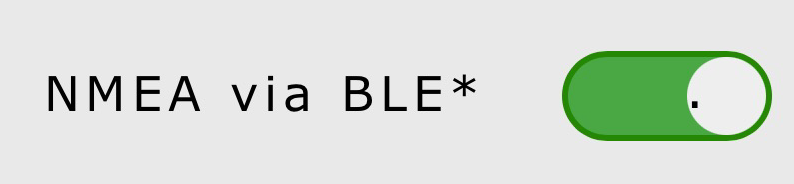 BLE is only available when RoboDot is used a Wifi Access point, not as a station.
## Serial Outputs
The USB-C port provides CDC serial communication over USB. In RoboDot versions 3.1.16 and above, serial outputs are set automatically. Per this table:
| **Mode** | **Output Type** |
| -------- | --------------- |
| Base | RTCM3 |
| Rover | NMEA |
| Repeater | RTCM3 |
The serial port should be configured to 115200 baud.
Prior to version 3.1.16, to enable serial outputs:
> On the settings page, choose the message type—NMEA or RTCM3—for output via the USB port. Click Save for the settings to take effect
## LoRa Input/Output
{% content-ref url="/pages/ZyY0j7FK7i7OTbZAZd27" %}
[LoRa Radio](/robodot-touch-3.1.16/robodot-touch-user-guide/lora-radio.md)
{% endcontent-ref %}
---
# Agent Instructions: Querying This Documentation
If you need additional information that is not directly available in this page, you can query the documentation dynamically by asking a question.
Perform an HTTP GET request on the current page URL with the `ask` query parameter:
```
GET https://docs.robota.us/robodot-touch-3.1.16/robodot-touch-user-guide/connecting-to-the-device.md?ask=
```
The question should be specific, self-contained, and written in natural language.
The response will contain a direct answer to the question and relevant excerpts and sources from the documentation.
Use this mechanism when the answer is not explicitly present in the current page, you need clarification or additional context, or you want to retrieve related documentation sections.
BLE is only available when RoboDot is used a Wifi Access point, not as a station.
## Serial Outputs
The USB-C port provides CDC serial communication over USB. In RoboDot versions 3.1.16 and above, serial outputs are set automatically. Per this table:
| **Mode** | **Output Type** |
| -------- | --------------- |
| Base | RTCM3 |
| Rover | NMEA |
| Repeater | RTCM3 |
The serial port should be configured to 115200 baud.
Prior to version 3.1.16, to enable serial outputs:
> On the settings page, choose the message type—NMEA or RTCM3—for output via the USB port. Click Save for the settings to take effect
## LoRa Input/Output
{% content-ref url="/pages/ZyY0j7FK7i7OTbZAZd27" %}
[LoRa Radio](/robodot-touch-3.1.16/robodot-touch-user-guide/lora-radio.md)
{% endcontent-ref %}
---
# Agent Instructions: Querying This Documentation
If you need additional information that is not directly available in this page, you can query the documentation dynamically by asking a question.
Perform an HTTP GET request on the current page URL with the `ask` query parameter:
```
GET https://docs.robota.us/robodot-touch-3.1.16/robodot-touch-user-guide/connecting-to-the-device.md?ask=
```
The question should be specific, self-contained, and written in natural language.
The response will contain a direct answer to the question and relevant excerpts and sources from the documentation.
Use this mechanism when the answer is not explicitly present in the current page, you need clarification or additional context, or you want to retrieve related documentation sections.